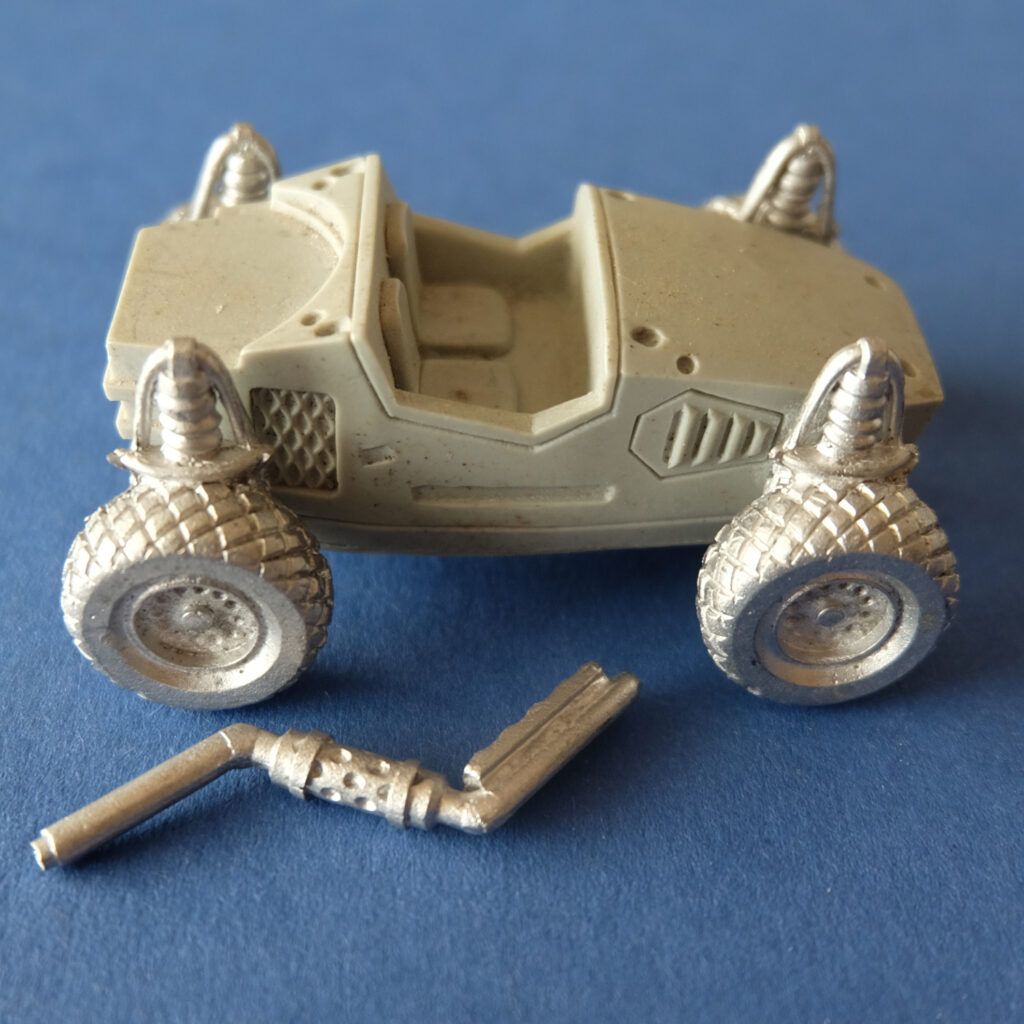
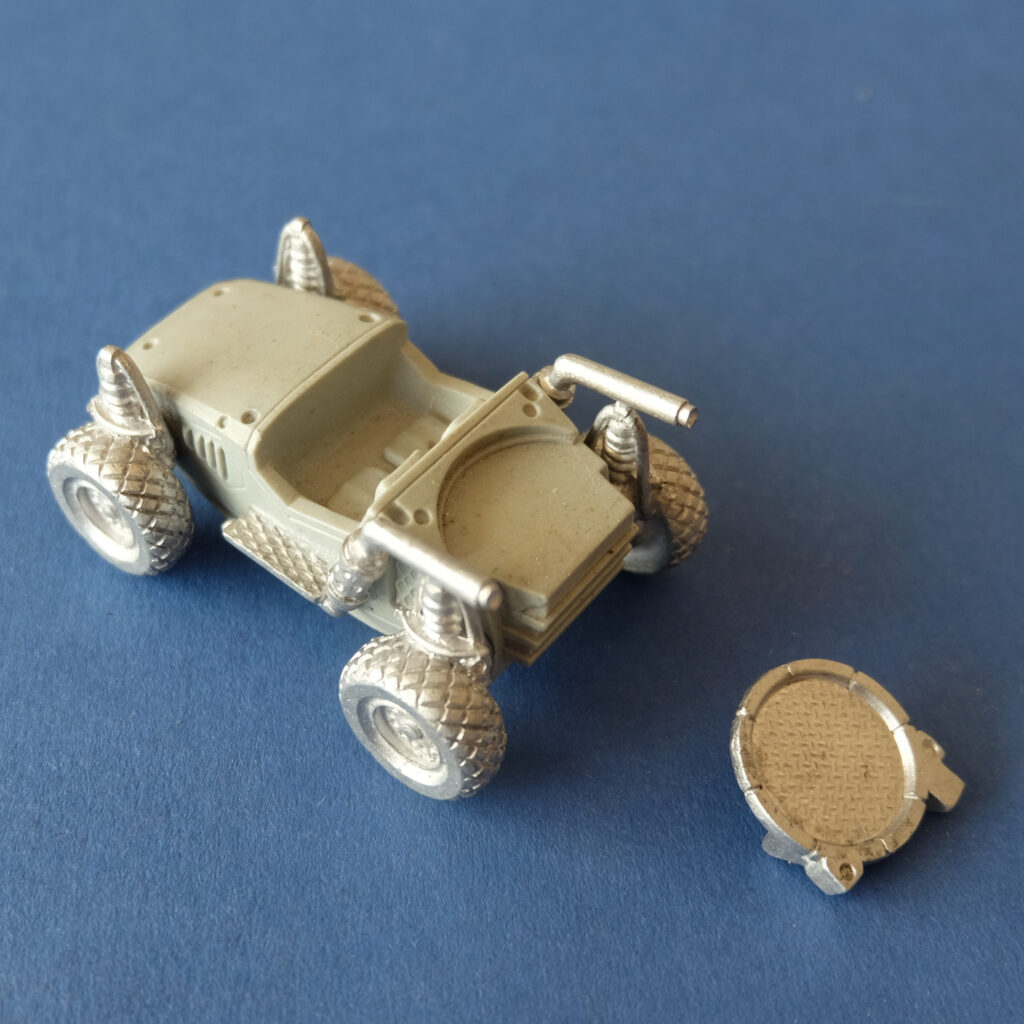
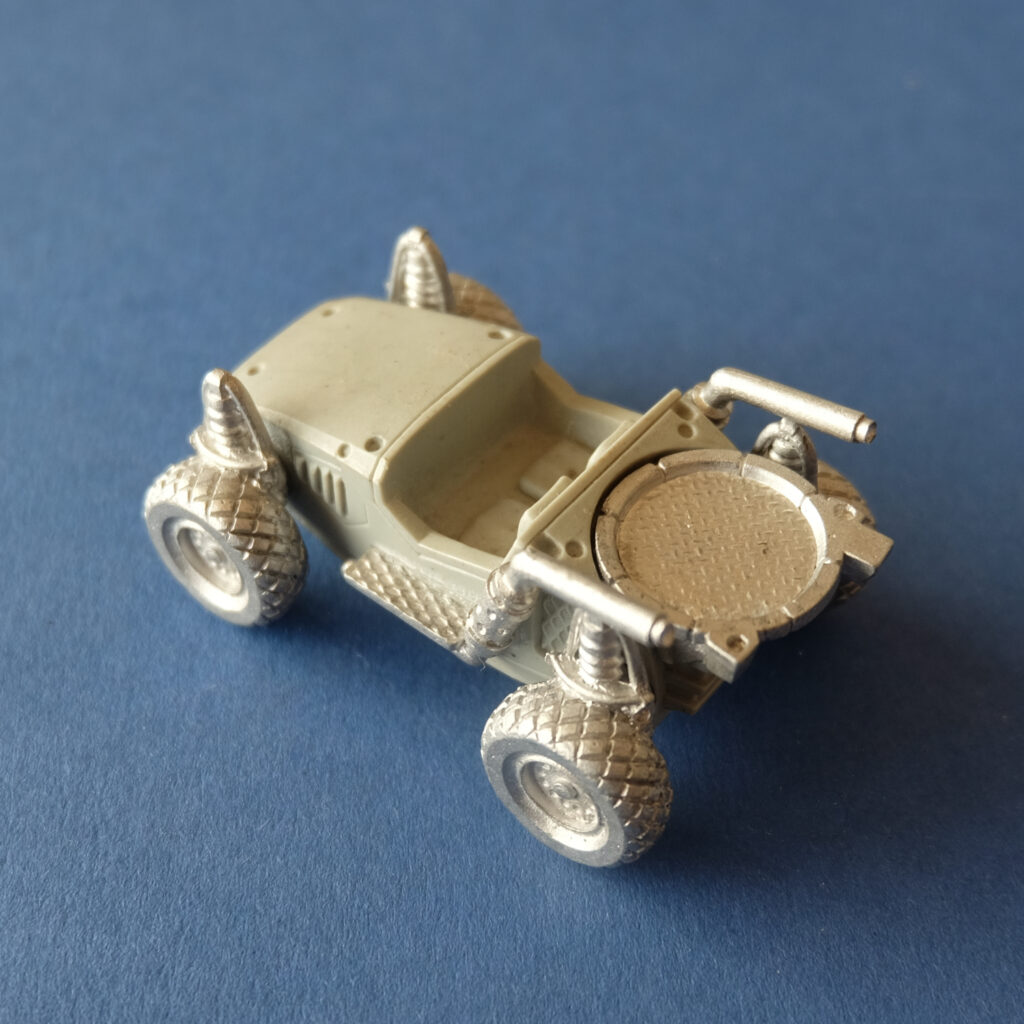
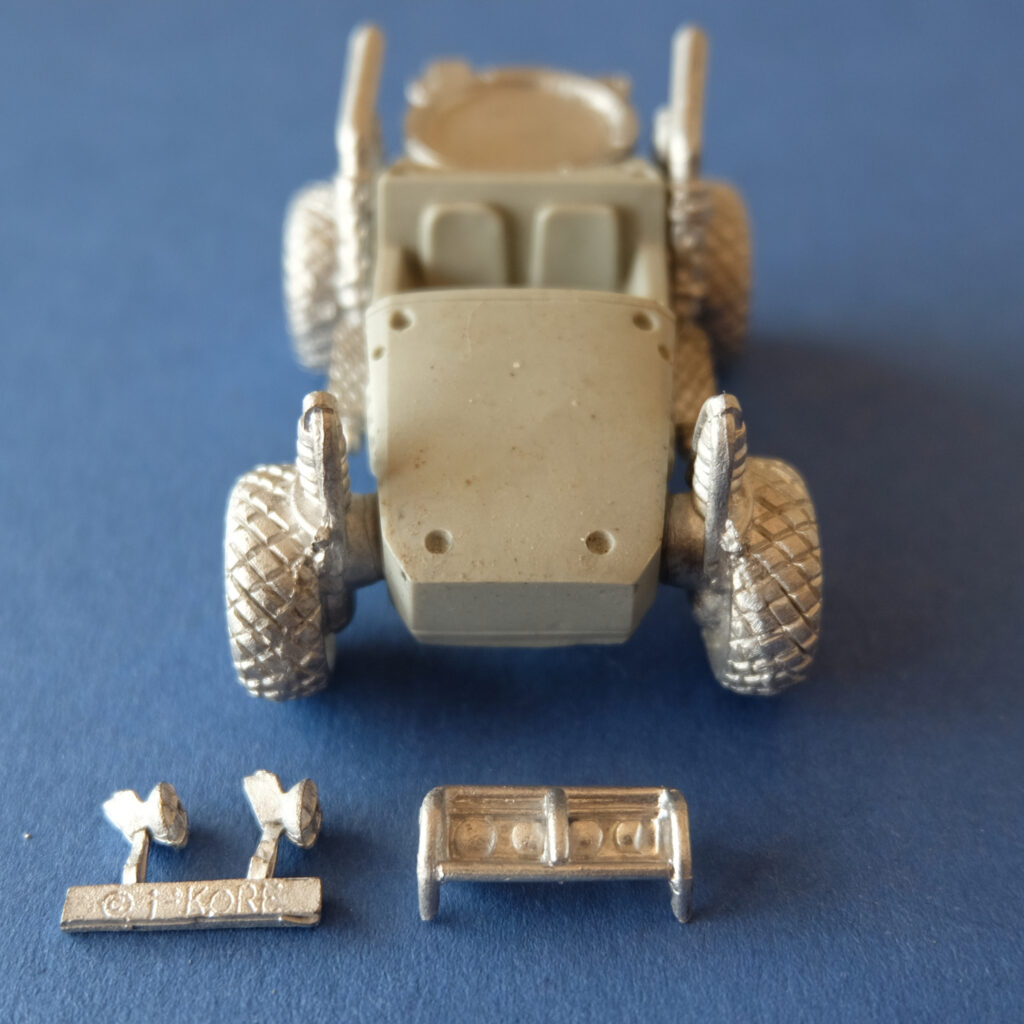
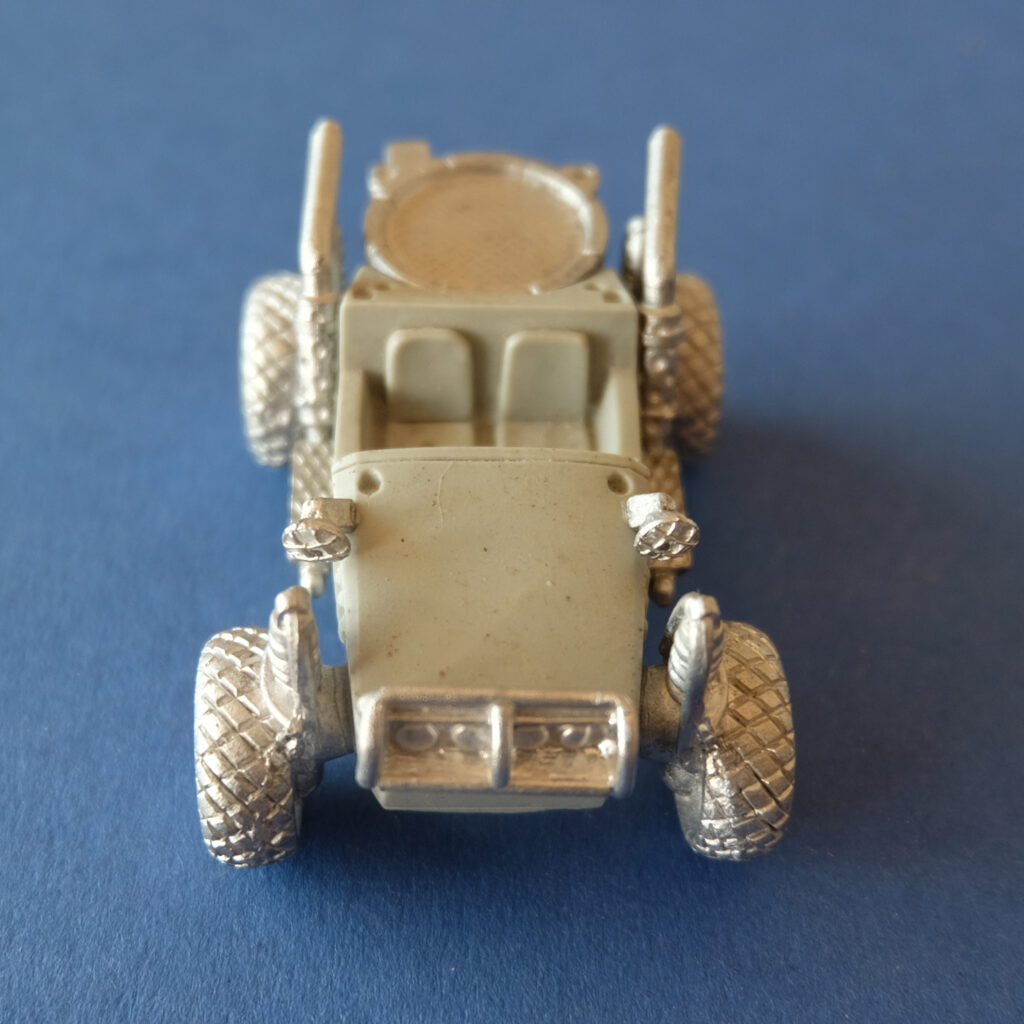
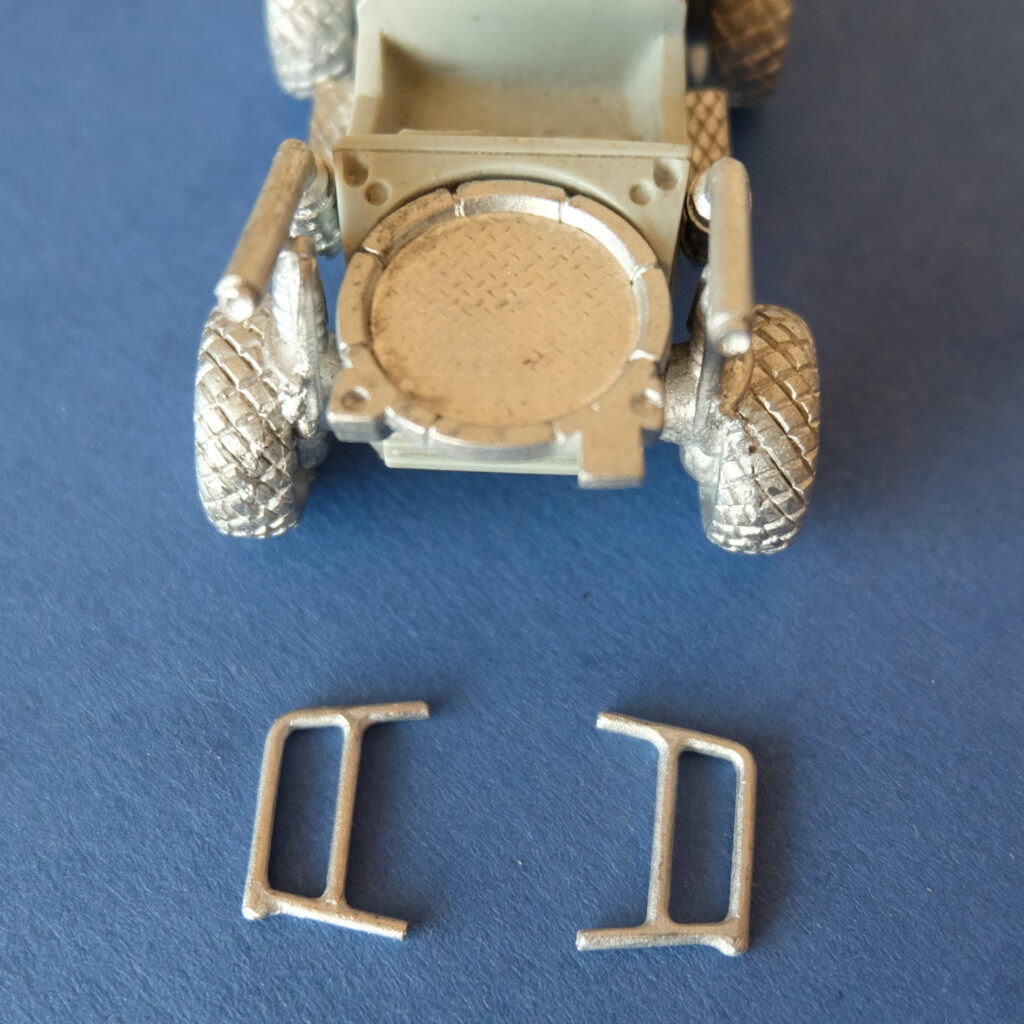
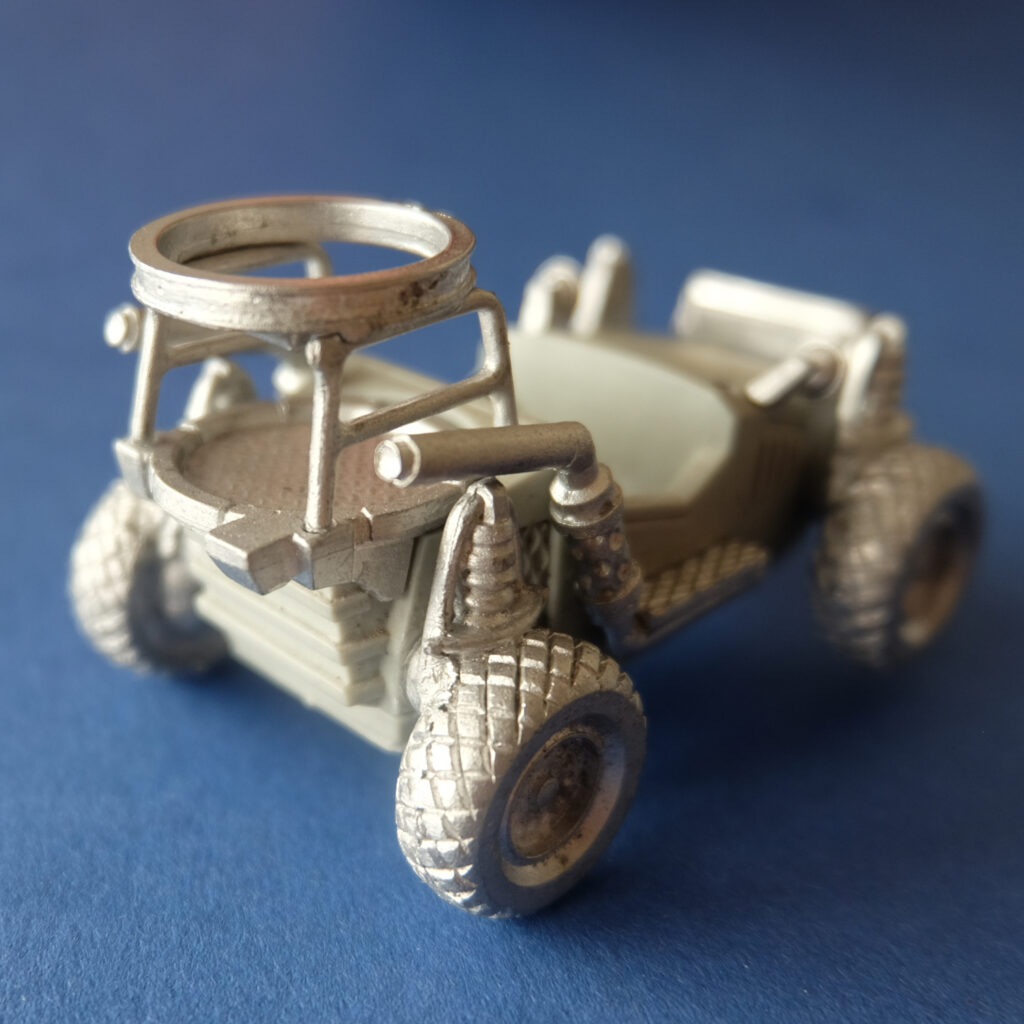
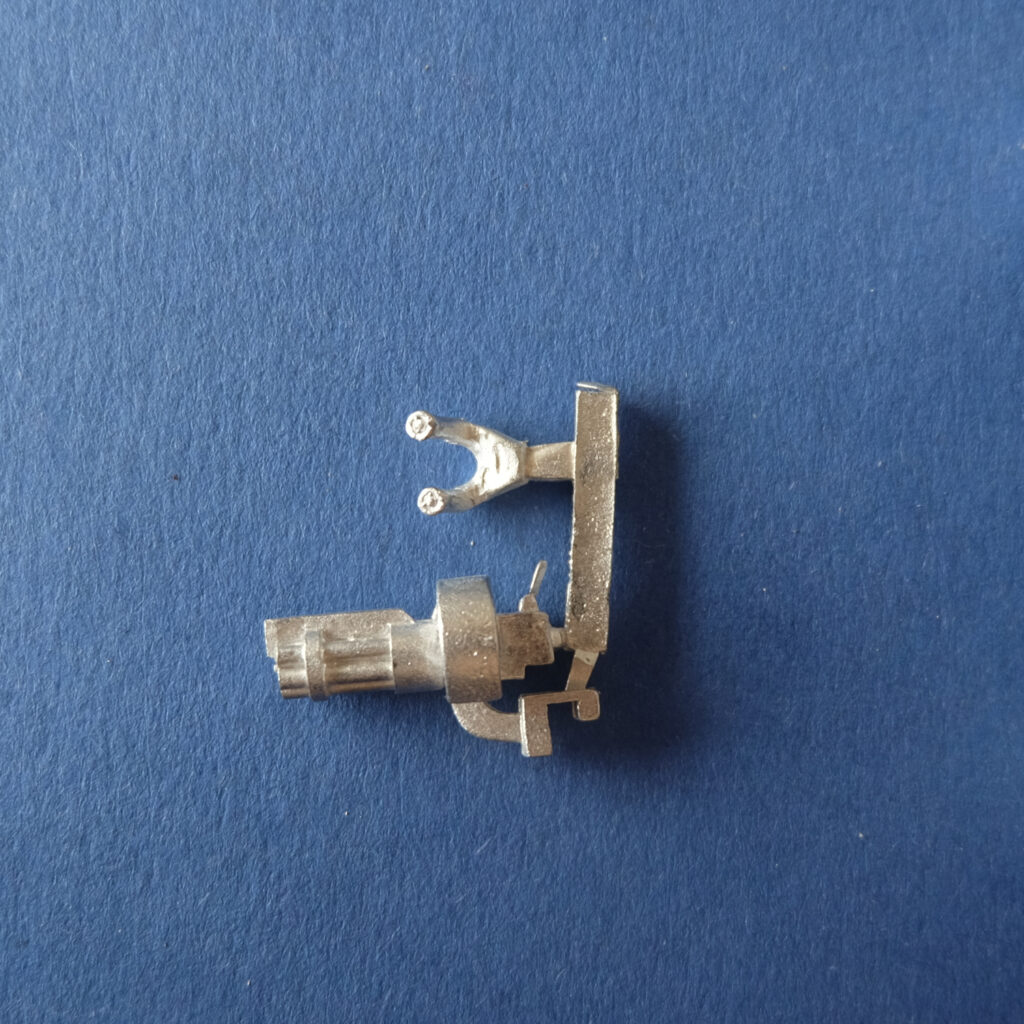
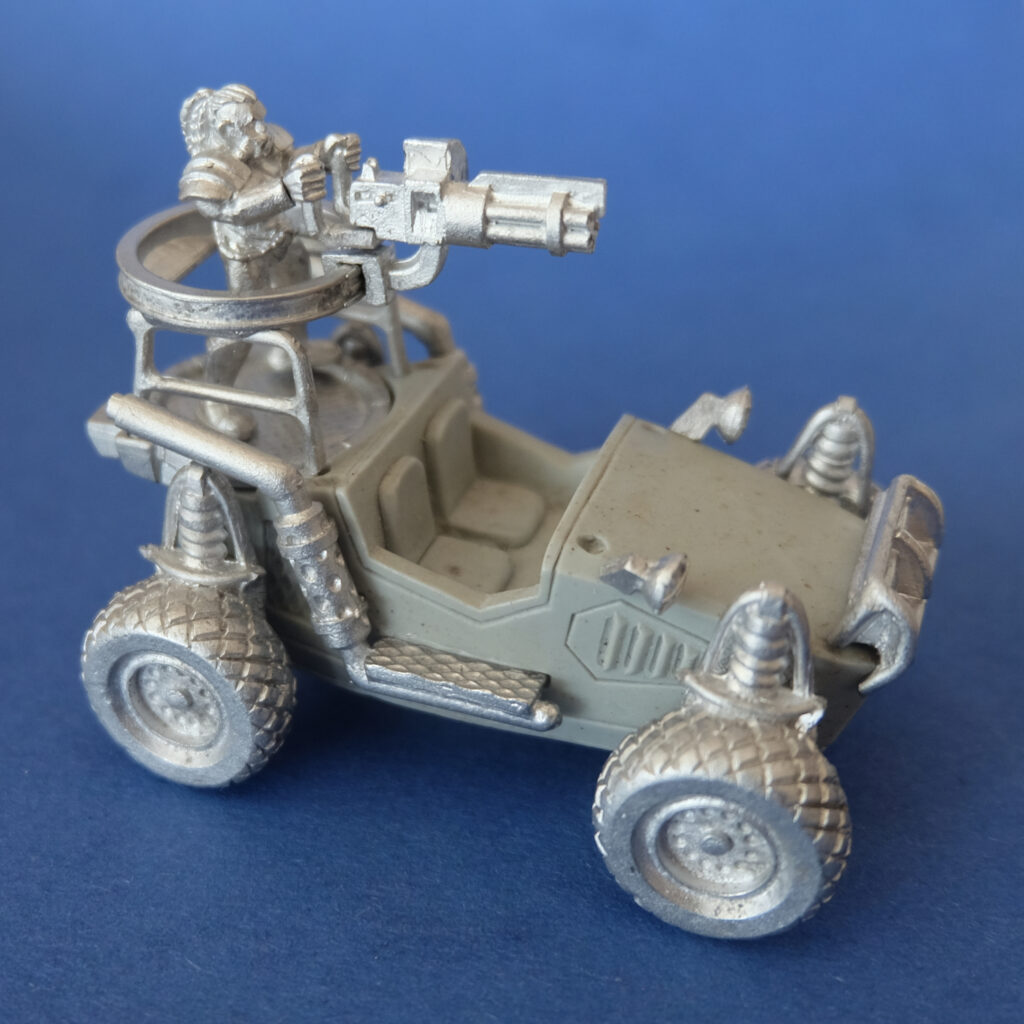
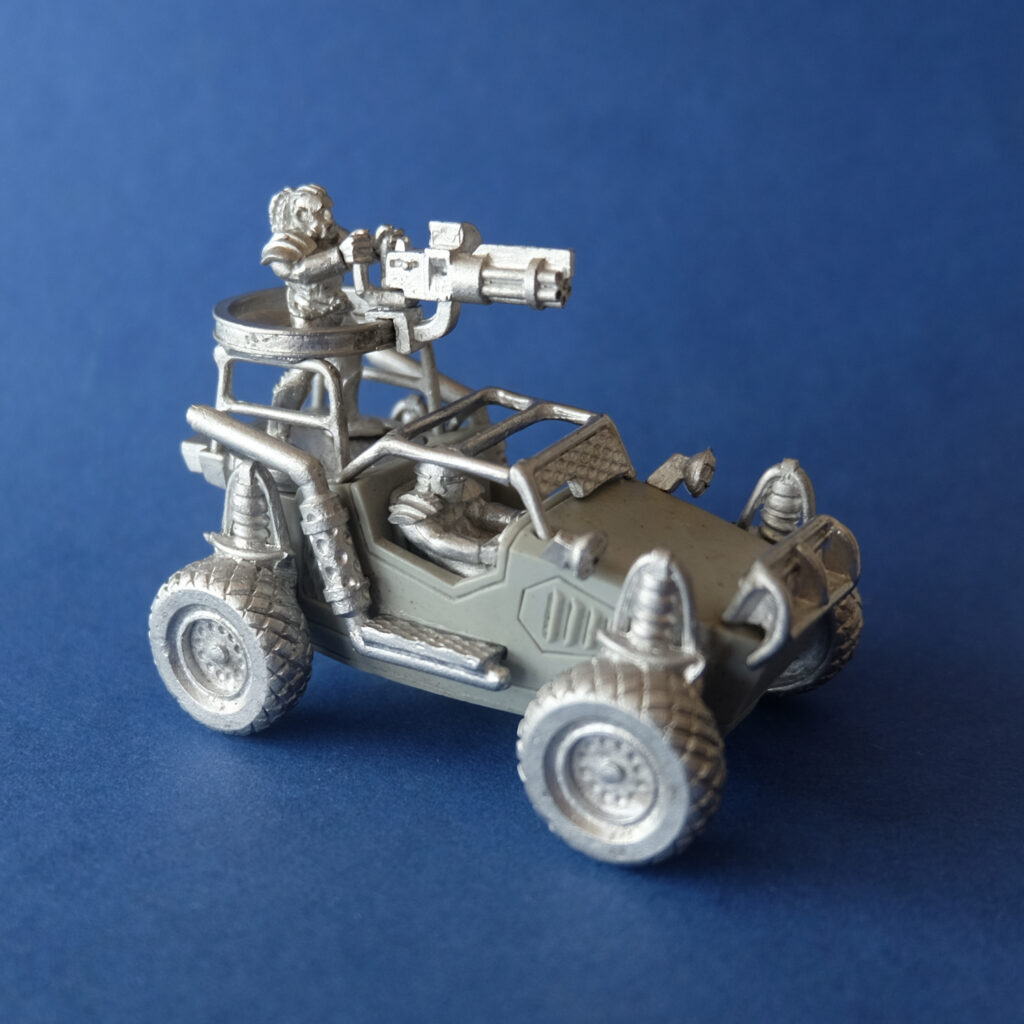
In this short article, we will examine how to assemble one of the most famous Junker vehicles, the Desert Marauder Dune Buggy. This model is a metal and resin part hybrid model. It can be daunting at first sight, but believe us, it is a relatively easy model to build.
To assemble the Desert Marauder Dune Buggy, you will need the following tools:
- Desert Marauder Dune Buggy (you can get one from our webshop here)
- A fine needle file
- A piece of fine sandpaper
- Hobby knife
- Superglue of your choice – we strongly recommend the thick or gel ones as they are more suitable for this kind of project
Safety first: It doesn’t matter if you are new to the hobby or a veteran; it is essential to remember to cut away from yourself when removing mould lines or feeds.
Before you start, there are a few important things worth remembering.
First, always, but always dry fit parts first. This is the best way to check if the part will fit, and it helps you to avoid any mistakes or problems. Due to the material and casting process, some parts may need filling down or filling the gaps.
Second, please study the pictures first before you start assembling the models. It will give you a basic understanding of the whole process and make it easier.
Thirdly, some parts may have small bits of flash or mould lines. Those are best dealt with fine needle file (if the part is metal) or sandpaper if it is resin.
And the last bit. From Step 11 to Step 13 it is recommended to first paint the models and crew members before the final assembly as it will make it easier. It is possible to build a model first and then paint it, but it will be more tricky.
And the model is now ready to be painted and field in your VOID force!
And don’t forget that you can now order Desert Marauder Dune Buggy from our webshop:
We hope this little assembly manual will help you to build your first Dune Buggy. Please let us know if you have any comments, as this is one of the first in the series of articles about assembling some of the bigger VOID models.


