10mm Late Roman Heavy Cavalry

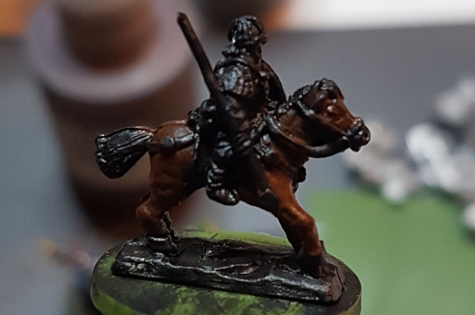
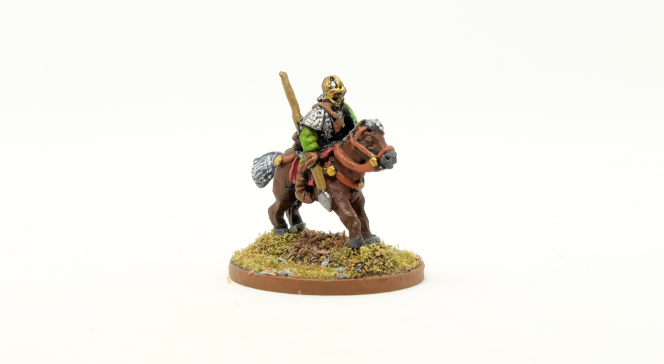
Welcome to another painting tutorial. Today we continue with 10mm miniatures, but this time we will paint Late Roman Heavy Cavalry.

Miniature by Pendraken Miniatures

Last thing before we start. Please forgive me for a bit chaotic style of this tutorial. I was trying a bit different way of doing it, and it didn’t work well. Lesson learned, hope the next one will be better.

Painting

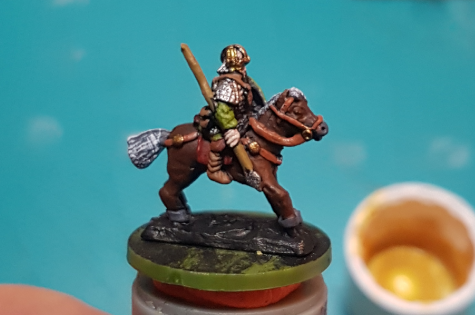
The models were prepared and given a black undercoat. You can use either spray paint of your choice, I used MP000 Black Primer. All paints used in this tutorial are from Minature Paints by Gamescraft.

Stage 1 – Apply a evean coat of black primer
Stage 2 – Paint the horse with Chocolate Brown (MP083)
Stage 3 – Paint the reins and stirrups with Rust (MP089). Leave a thin dark line of undercoat between reins/stirrups and horse still visible to create a deep shadow.
Stage 4 – Paint the horsetail and mane with Mid Grey (MP006) and lightly drybrush it with White (MP005).
Stage 5 –The armour was painted with Chain Mail (MP096). Paint all decorative elements with Old Gold (MP090) and then highlight it with Bright Gold (MP091). Use Khaki (MP087) to paint spear shaft.
Stage 6 – Paint all leather elements with Leather Brown (MP081). Use Plum Red (MP043) for saddle and Olive Green (MP019) for the tunic. Trousers ware painted with Chestnut Brown (MP084).
Stage 7  Paint all flesh area with Tanned Flesh (MP072) and highlight it with Coffee (MP080). Highlights: Tunic – Bright Green (MP014), Saddle -Coral (MP054), Hoves – Mid Grey (MP006). Wash the boots with Chocolate Brown Ink (MP212).
Stage 9 – Basecoat the shield with Olive Green (MP019) then highlight the edges with Bright Green (MP014).

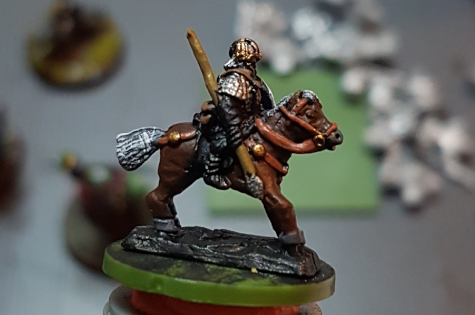
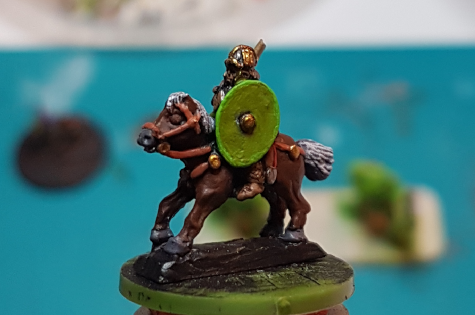
Base your miniature the way you like and the cavalry men is done!

Finished model

Final points

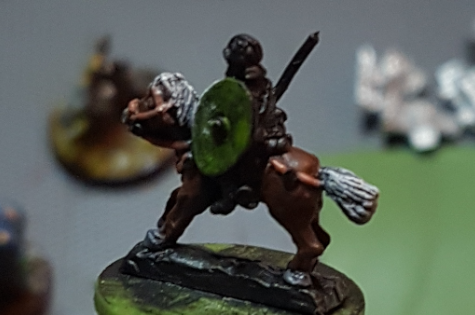
Last few words. After I painted the model, I thought of adding a bit of more shadow to the skin, so I washed the skin area with Chocolate Brown Ink (MP212) and then highlighted it with Pale Flesh (MP071). I also painted the horse eyes with black… a small detail I simply overlooked 😀

I hope you enyoied this tutorial, and as always don’t hesitate to leave a comment or suggestions as all the feedback is more than welcome.

2 Comments:

  1. Looks pretty good! The gold decoration comes up very nice – do you varnish afterwards?

  2. Yes, do varnish miniatures afterwards, but usually, I do this in batches, hence why I didn’t mention it here.

    Cheers,
    Seb

Leave a Reply

Your email address will not be published. Required fields are marked *